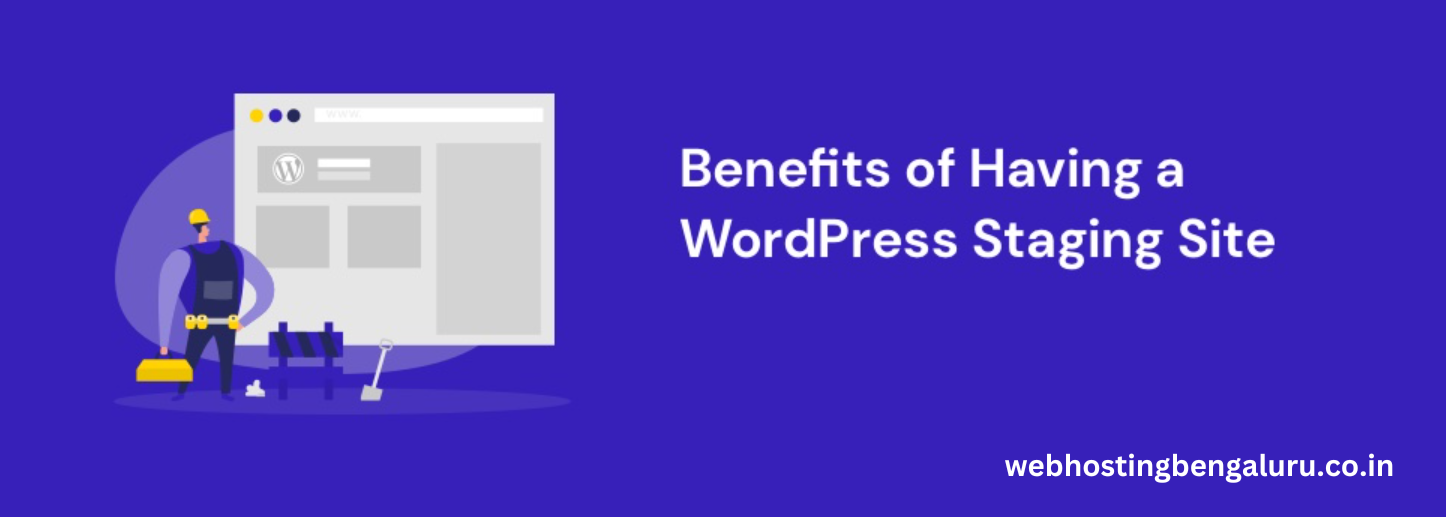
Setting up a staging site for your WordPress website can be an invaluable asset, providing a safe environment to test changes and updates before implementing them on your live site. Here are five key benefits of having a WordPress staging site.
Table of Contents
Risk-Free Testing Environment
With a staging site, you can experiment with various changes, such as theme updates, plugin installations, or code modifications, without any risk to your live website. This allows you to identify and resolve any issues or conflicts before they impact your site’s performance or user experience.
Enhanced Reliability and Stability
By thoroughly testing changes on your staging site, you can ensure that updates are compatible with your existing setup and won’t cause unexpected errors or downtime on your live site. This promotes greater reliability and stability for your website, minimizing the likelihood of disruptions for your visitors.
Streamlined Workflow
A staging site facilitates a more efficient workflow for website development and maintenance. Instead of making changes directly on your live site and potentially causing disruptions, you can first implement and test updates on the staging environment. Once everything is thoroughly vetted, you can confidently deploy changes to your live site with minimal downtime.
Improved Collaboration and Communication
Staging sites provide a collaborative platform for teams working on website projects. Designers, developers, and content creators can all contribute to the testing process, share feedback, and address issues collaboratively. This fosters better communication and coordination among team members, leading to smoother project workflows and higher-quality outcomes.
Better SEO and User Experience
With a staging site, you can fine-tune elements of your website that impact SEO and user experience without affecting your live site’s rankings or visitor satisfaction. Whether you’re optimizing page speed, refining navigation, or refining content, the ability to test changes in a controlled environment helps ensure that your website maintains its search visibility and delivers a seamless user experience.
How to Create WordPress Staging site
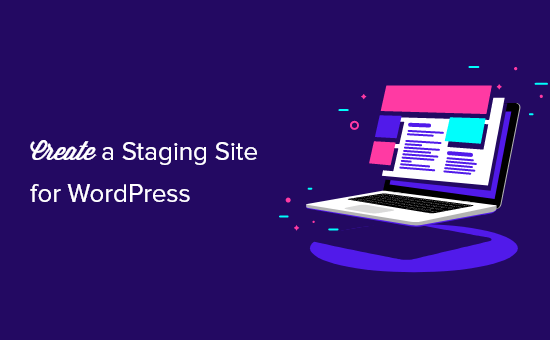
Creating a WordPress staging site involves duplicating your existing website to a separate environment where you can safely test changes. Here’s a step-by-step guide to creating a staging site for your WordPress website:
- Choose a Staging Environment: Decide where you want to host your staging site. You can either create it on your local computer or use a staging environment provided by your web hosting provider. Many hosting companies offer built-in staging features or separate staging servers for this purpose.
- Backup Your Website: Before proceeding, it’s crucial to create a backup of your WordPress website. You can use a backup plugin like UpdraftPlus, BackupBuddy, or Jetpack to perform a full backup of your site’s files and database.
- Set Up Your Staging Environment:
- Local Environment: If you’re setting up a staging site locally, you’ll need to install a local server environment like XAMPP, MAMP, or Local by Flywheel on your computer. Once your local environment is set up, you can create a new empty WordPress installation.
- Hosting Environment: If your hosting provider offers staging functionality, log in to your hosting account and navigate to the staging area or follow their specific instructions for creating a staging site.
- Duplicate Your Website:
- Manual Method: If you’re creating a staging site on your hosting environment manually, you’ll need to copy your website’s files and database to the staging environment. This involves exporting your database using phpMyAdmin or a similar tool, copying your website files via FTP or SSH, and importing the database dump into your staging database.
- Using Plugins: Alternatively, you can use a plugin like WP Staging, Duplicator, or All-in-One WP Migration to automate the process of duplicating your website to the staging environment. These plugins simplify the task by handling the backup, migration, and setup steps for you.
- Update Site URLs and Settings: After duplicating your website, make sure to update any site URLs and settings to reflect the staging environment. This includes updating the WordPress Address (URL) and Site Address (URL) in the WordPress dashboard under Settings > General.
- Test Changes and Updates: With your staging site set up, you can now test any changes, updates, or new features without impacting your live website. Experiment with theme customizations, plugin installations, code modifications, and content updates to ensure everything works as expected.
- Review and Deploy Changes: Once you’ve thoroughly tested your changes on the staging site and confirmed everything is working correctly, you can deploy those changes to your live website. Depending on your setup, you may use a staging-to-live migration tool provided by your hosting provider or manually implement the changes on your live site.
By following these steps, you can create a WordPress staging site to safely test and refine changes before making them live, helping you maintain the stability and reliability of your website.
Conclusion
In conclusion, creating a WordPress staging site is a wise decision for any website owner or developer looking to maintain the integrity and performance of their website. By following the steps outlined above, you can set up a safe and isolated environment where you can test changes, updates, and new features without risking disruption to your live site.
A staging site offers several benefits, including risk-free testing, enhanced reliability, streamlined workflows, improved collaboration, and better SEO and user experience. Whether you choose to create a staging environment locally or use staging functionality provided by your hosting provider, the process involves duplicating your website, updating site URLs and settings, testing changes, and deploying updates to your live site.
Ultimately, investing the time and effort to create a WordPress staging site can save you from potential headaches caused by unexpected errors, downtime, or negative impacts on user experience. By leveraging a staging environment, you can ensure that your website remains stable, reliable, and optimized for your visitors while implementing changes with confidence.